D Day Memorial Match at CMP Talladega – WWII vintage rifle run and gun

Being fond of walnut and steel, bolt guns and iron sights, I have been looking forward to this match for a while. It was awesome. About as close to the Medal Of Honor video games as possible. Lots of Garands, Carbines, Mausers actions, straight bolts, and even some bayonets. Some really nice Era Uniforms and a super cool surplus Jeep. I had been planning to run a 3 gun match Heavy Metal division (Garand, 1911, pump shotgun), and still plan to, but this feeds the need until then.

It was HOT – I happily sweated off about 6 pounds, but at the end of the day I still had the hustle to paste targets and reset steel. There were two divisions (Semi and Bolt). There were competitors that ran through the course, and then there were some that were just glad to be out there walking or trotting along. almost 30 people attended the match. I ran both sessions (morning and afternoon). Morning session was completed with 2 squads of about 10 people each. Afternoon session was much smaller with about 6 people. Also worth noting that you can run in both divisions (bolt and semi). Price was only $15 per session/division with proceeds benefiting vets.

as far as semis go, the garand ruled the day, knocking steel down with absolute authority out to the ~50yd mark. Carbines were better for the close quarter quick fire stages, but steel hits on the far targets didn’t always fall (but still counted).

I got most of the guys to sign a Picture frame matting for Ike Fabela, who turned 100 on June 6th 2018. I will get a picture of the competitors and have it shipped to him.

I got to try out my knock off go-pro for the first time. Besides leaving it on and running the battery down, it seemed to work pretty good for a $50 camera.

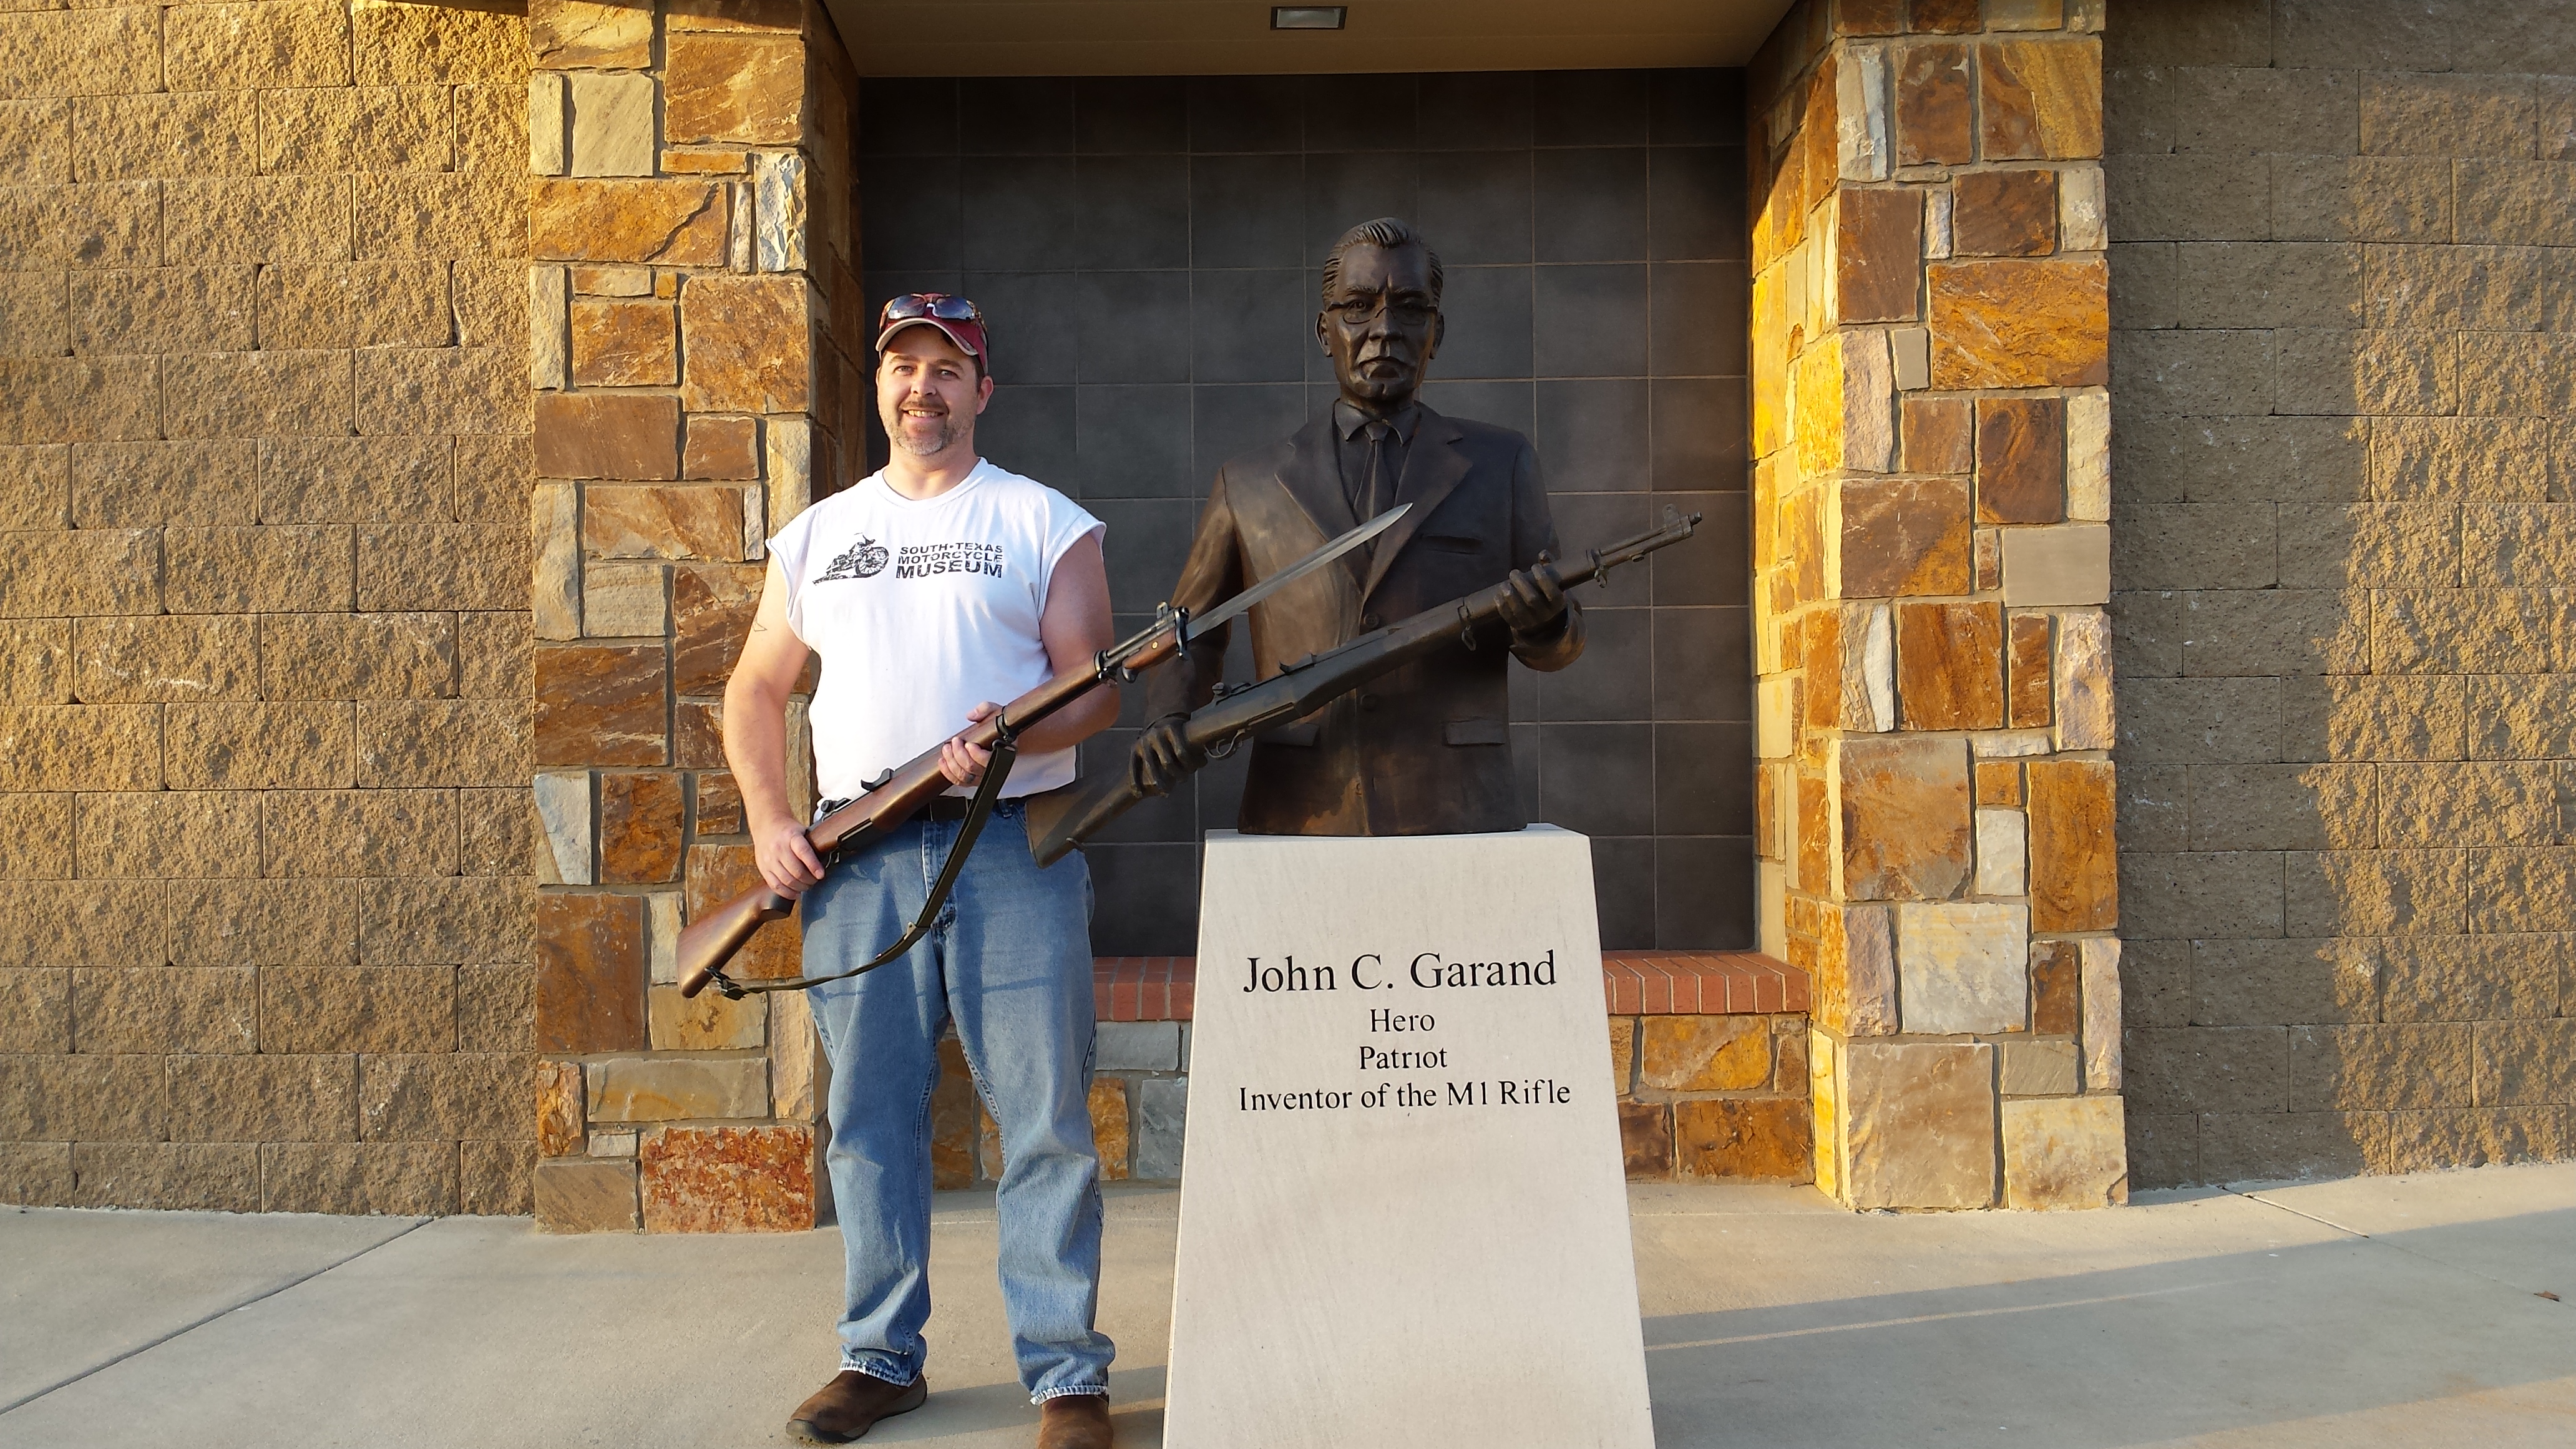
And if you haven’t been to the CMP Marksmanship Park, I would highly suggest a visit. It’s a $20 million dollar facility tucked in the woods of this great state of Alabama. Serious vintage match competitors come from all over the country to shoot their rifles on the 600 yd line that is equipped with electronic targets at every station. For a touch of nostalgia, here is a pic with my long lost Garand beside old John C.

And without further adieu, here is the good stuff. First person videos. Enjoy…

Scoring:
https://practiscore.com/results/new/0efd8c7f-a819-4bce-918b-e5fcbbe763e7?q_result=3

BeachRun1

BerlinBayoneteRun1

BerlinBayoneteRun2

JeepRun1

Uniform

———– Other Competitors—————-
BeachRunWhiteShirt

BeachRunK31

JeepGarand

BerlinRunK31

New T-Shirt Design – Cornholio/Gadsden Flag with 1911 and AR15

Copyrighted… Wont happen… ugg.. I do have some other great milsurp T-shirt designs coming your way soon!

    • New T-Shirt Design coming your way in a few weeks.
    • This version will be larger screen area, has larger Cornholio head, and has ar-15 as well as 1911 (cocked and locked)
    • Sizes will be L and XL on this run. If it sells, larger sizes on next run.
Cornholio Gadsden Flag with AR15 and 1911

Cornholio Gadsden Flag with AR15 and 1911

Rescued! Old Cannondale Roadbike

My wife and father-in-law pulled this bike down from the rafters of the barn. It is a bit heavy in the back end, but still in remarkably good shape and rides well.

image

image

Specs:

  • 3×6 speed Tube shifters
  • aluminum Handmade in the USA frame
  • 27″ wheels, old school cantilever brakes.
  • double sided mtn clueless pedals

Accessories:

  • hp frame pump
  • rear view mirror
  • Brooks Hand hammered copper rives suspension saddle (pulled off the Homegrown)

Dones:

  • Bike came with clips and straps. The clips were driving me crazy! Just got some used double sided clueless pedals added (thanks to the guys at reRideBikes), much better!
  • Headset tightening/adjustment (done at reRideBikes, much better!)
  • New shifter cables!
  • ride to work… ride to home…


Pool Cue Case

OK, This is a semi-final phase to a project that has dragged on for over a year. I use to shoot pool a little bit and bought a used Meucci black dot cue from a good lawer friend of mine. I made sure that it included the case, but to be honest the case was not in very good shape. It did last for about a year before I had to tape the ends back on and such. So I needed a woodworking project at that time and ended up making a nice case for the cue.

Like most projects, the first try was pretty good, but I found out a few modifications  that could make it better. So I made a second one as well, and mad them so that they could be put together and carried as a pair (shooter cue/breaker cue), or just carry one or the other. Each one has a storage cache that you can put your chalk/scraper ect.. in as well. I made them both from the lightest/cheapest wood that lowes had (aspen) and just used regular wood glue for most of the assembly. To put the top on, I used a couple small hinges that I got from hobby lobby, but I couldn’t settle on a latch. All the ones I saw around were either too big or too ugly. I wanted something low profile, so I just curled the ends of some copper wiring and then ran some dark ribbon through the end. I threaded the ribbon under both sides of the lid in case the lid was closed with the pins inside, to make it easier to open back up. The pins just slide in some holes in the side of the case and fit in some holes in the lid.

After I got everything glued up and working OK I sanded it down a little and added some foam cushion wrapped in some black fabric, to hold everything in place when porting it around. Good to go. Took it out more than a few times and it worked well. Got some good complements on it and it is definitely unique. So I ran around with it like that for about a year or more and when I was getting beat by my good friend, a friend of his came by and said it looked good but needed some stain or polyurethane to protect it. I had been meaning to do it for a while, but I had just recently finished another wood project using some red mahogany stain and polyurethane, so now I had no excuse. I went home and did a little more sanding, then stained it, then finished it off with about 3 coats of clear gloss polyurethane. The only issues I had was that the stain did not like to stay on  parts of the wood that had the wood glue. I managed to get it looking decent, but you know live and learn. I think I’d like to try another set with some wood with nicer grains like curly maple or tiger wood, or whatever.

So, you can see the before and after in some of the pics. It started off as a nice cue with a crappy case and now is a really nice case for a nice cue. I still have to stain/coat the matching breaker cue case and then do some leather working to strap them together. Hope you enjoy and if you want one, just lemme know!

Make Brooks Proofide leather conditioner

OK so I just got around to making my own version of proofide that is made by the Brooks saddle company. They make high end leather bicycle saddles. They recommend using only their special concoction on their saddles. Only thing is the small tins they sell are pretty pricy. They do, however put the ingredients right on the tin. Now that I’m looking to do more leather working, I am trying to make my own large quantities/low price version of this. One Saturday, I rounded all the ingredients up locally and mixed them all up in a small saucepan on the stove over low/warm heat.

Here are my notes on the concoction that I hereby dubb as Praterhide leather rub.

I just had another very good result with some real mink oil(not the shoe polish you can get anywhere. It has no mink oil in it and is a cheap mixture of other stuff). Trappers mink oil (about 8$ for a large tin) is rendered from actual mink fat(i thunk some shooters use it with powder rifles), and first impressions are very good. By itself, it provided almost as good suppleness as brooks proofhide. Im going to mix it in with my current concoction, and next batch will not include beef tallow, or vegetable oil.

Tallow – $14 – (not needed now using mink oil)This is rendered fat from suet, or beef fat. Normally the really hard stuff around the loins or kidneys. This was the hardest ingredient to track down, I went to a few supermarkets and a butcher and they didn’t have any beef fat to sell or give away. So I went to the meat section and got a pack of two medium sized rib-eye steaks. Trimmed off all of the fat and fried it up and strained into a small jar.

Citronella oil – $5 at earthfare. They also had lemongrass oil for about $8. a few drops of this go a long way.

Cod Oil – $6 -Bought a bottle of 100 capsules. Used them all and ended up buying more. This stuff is slick.

Vegetable Oil(not needed now using mink oil) – $2  – Just plain cooking oil. nothing special about this. I have seen others use virgin olive oil on leather as well so you might be able to sub that if you wanted, but would cost more.

Beeswax – $5 – look for a beeswax candle at the fancy pants grocery stores in the all natural section. A little will go a long way.

Paraffin Wax – $2 – I just used one of the tea light candles that I had around the house. uber cheap.


Here is my take on the while process/ingredients. Cod oil is the slickest stuff of the bunch. Kind of a pain to get out of the capsules, would be nice to just squirt it in. This stuff stinks too. I think the citronella oil is uses primarly to hide the smell of the fish oil. Vegetable Oil is the next slickest stuff, nothing special about it really. I used almost all the tallow I got from two ribeyes in my concoction. You can save it for later, but needs to be refrigerated. Paraffin wax – Just broke one tea light into 6 pieces and melted it into the oil. Beeswax –  this stuff is sticky and tacky. At first I put too much of this in the mix and then had to add a bunch more oil to make it not so solid. I just cut some chips off the candle and melted into the oil. Ended up using about 1/4 of the small candle about 3 inches tall and 1.5 inches diameter. When done, the consistency should be similar to butter, maybe a little thicker. It should remain solid in the tin, then when you rub it into the leather, the warmth from you hands will melt it as needed.

I found a couple ways to test the consistency of the mix. Just swirl it around in the pan and the edges will dry quicker than the center. Also ended up putting the saucepan into a larger bowl of cold water to cool it down a little quicker.

OK here is the measurements I used.

Tallow(capfulls)(not needed now using mink oil) – .5, .5, .5

Cod Oil(pellets) – 20, 10, 10,

Vegetable Oil(capfulls)(not needed now using mink oil) – .5, .5, .5

Citronella oil(40 drops) –

Beeswax (1/3 candle ~ 1.5 tealight candle)-

Paraffin Wax (1 tea candle)-

Then was still too solid so I split in half and added more oil to one half:

Tallow(capfulls) – .33, .5, 1,

Cod Oil(pellets) – 10, 20, 5, 100,

Vegetable Oil(capfulls) – .33, .5, 1, 1


So half of this batch yielded one small tupperware tub full. About the same size of 4 or 5 small tins of proofhide (that cost $10 each). The mix might not be quite the same, but it’s close enough (and cheap enough) for me. Now that I got it right, I need to add another 100 caps of cod oil and a capfull of veggie oil to the other half of the batch, then I will have two tupperwares full of Praterhide ready to go…


Barber Vintage Festival 2013

Well I made it to Barber Vintage motorcycle Festival for a single day this year. This was my first time going, but others were saying it was getting bigger every year. Lots of cool bikes/old bikes/parts/junk for sale. There were some cool helmets there too, and the riders in the steel ball (three riders and a showgirl standing in the center) and the wall of death was pretty cool. The wall of death had a 63 year old guy (oldest current rider of the wall of death) that would ride up to the top and snatch the dollars out of your hand. Really cool.

Most of the pics are from the swap meet, but they did also have some exquisite rare motos for auction and of course the big names were there too offering their latest and greatest. Motus was there too, they are local to BHM with a really cool bike that had a V4 configuration. The only pic I didn’t get was a picture of me, ohh well maybe next year. Special thanks to my friends that gave me a place to crash and tour around the festival.

Moto chain belt

Ok, so I needed a new chain on my motorcycle. Now I’m left with a cool chain that is of no good, but I just can’t make myself throw it away. So, I ordered a belt blank, heavy duty leather bootstrings and some dark brown leather dye and made a belt. This thing means business….

0929131844a 0929131849

Since I am cheap, I skipped the holepunch and spun a .22 shell on the end of a drill against a file to create a leather punch. Turned it over and got a small nail to put a hole in the buttside of it to push out the little leather disks after 5 or 6 holes were punched. I cleaned my chain real good and sprayed it down with chain wax to keep it from rusting. A lot of hand rubbing with scotch brite pads while watching powerblock.

I wet the belt blank and then let it sit for a day inside a paper towel. That let the outside dry out some, but the inside is still really plyable.

Now my bike had an RK 525 chain, so the 22 shell was just about perfect to punch holes through the middle of the belt. I did find out that it was better to just tap the punch a little to mark the hole while the chain was ontop of the leather belt blank. Then after all the holes are marked, remove the chain and go back and punch em on through. This way you dont make chain imprints on the belt.

OK so all your holes are punched. Now dye the leather (most shoe repair shops have it), and work some type of conditioner into it. What I did was dye the belt first, then wet it and buff it with a cloth to get all the extra dye off. Then I wet it and hung it outside and went over it with a bunch of blue mechanics paper towels.  Kept wetting and buffing until most of the extra dye was gone. If you don’t do this it will bleed on your pants when you get it wet or sweat or whatever. After a while, most of the extra dye was removed, I let it dry out for a day again.

Then I worked in some leather conditioner. I tried a couple different ones, but the best I found was some brooks proofide saddle conditioner. Its made for high end handmade bicycle saddles. It has Tallow, Cod oil, Vegetable oil, paraffin wax, beeswax and Citronella oil. This stuff worked MUCH better than regular leather conditioner. I tested on a couple small leather strips before doing it to the while belt. Ever after about 3 applications of the Feibings 4 way leather conditioner, it was about half as plyable as one treatment of the brooks proofide. The proofide also put a nice brown color to the belt. Not quite dark enough to not use any dye, but still much darker, softer, better. Basically I’m sold on this stuff for any future leather working, but enough about that.

So I put the chain down on the belt lined up with the holes and then took a leather shoestring and put some proofide on it and then tied a knot on one end and just laced it through the belt and chain. I’m about a 40″ waist, so one lontg leather shoestring worked just right. Tied another knot on the other end and that part is done!

Now for the buckle. Now here i was debating on doing the normal buckle route, but I said screw that and dove right in. If you wanted to go the traditional buckle route, the belt blank came with the snaps and latch slit ready to go. I just cut all that off, used my chain breaker to push some pins out of the ends of the chain to have no outer plates on each end, leaving only the inner plates. Then got some square stock aluminum from local hardware store about 1 inch inner diameter and hack sawed it to about 4″ long. Drilled a hole on each end. Then put a flat top threaded rod (thumbscrew) through it, the chain, and a knurled brass thumbnut on each end.

Only thing I might do later on is add some kind of logo or buckle or whatever to my buckle. For now though, I’m riding as is. Let me tell you it is heavy duty! Weighs about 5 pounds, you feel it when you wear it. I like the looks, feel and making use of otherwise junk. the contrast of chrome chain to the dark leather is kinda cool too. If you want me to make you one just contact me and we can talk about price and getting me your chain.

Now that I know, here are a few things I would do different:

Get a big tin of proofide, get an unfinished bet strap without the snaps and slit for a few bucks cheaper, maybe try some other leather dye or water down the dark brown a little (it is really dark brown).

Damascus

I was able to find a local knifemaker who specializes in damascus steel. He was able to make a complete set of knives for all seven of my groomsmen and I. They were all the same style, with some variation on the type wood used for the handle.